A Machame Gate tour from Arusha for a mountain photography trip in 2026-2027 involves trekking the popular Machame Route on Mount Kilimanjaro, starting from the Machame Gate, and requires careful planning for optimal photo opportunities, including selecting the right gear, understanding the best times to shoot, and acclimatizing properly for stunning landscape and wildlife captures. This route offers a scenic progression through diverse ecological zones, providing photographers with unique vantage points and diverse subjects.
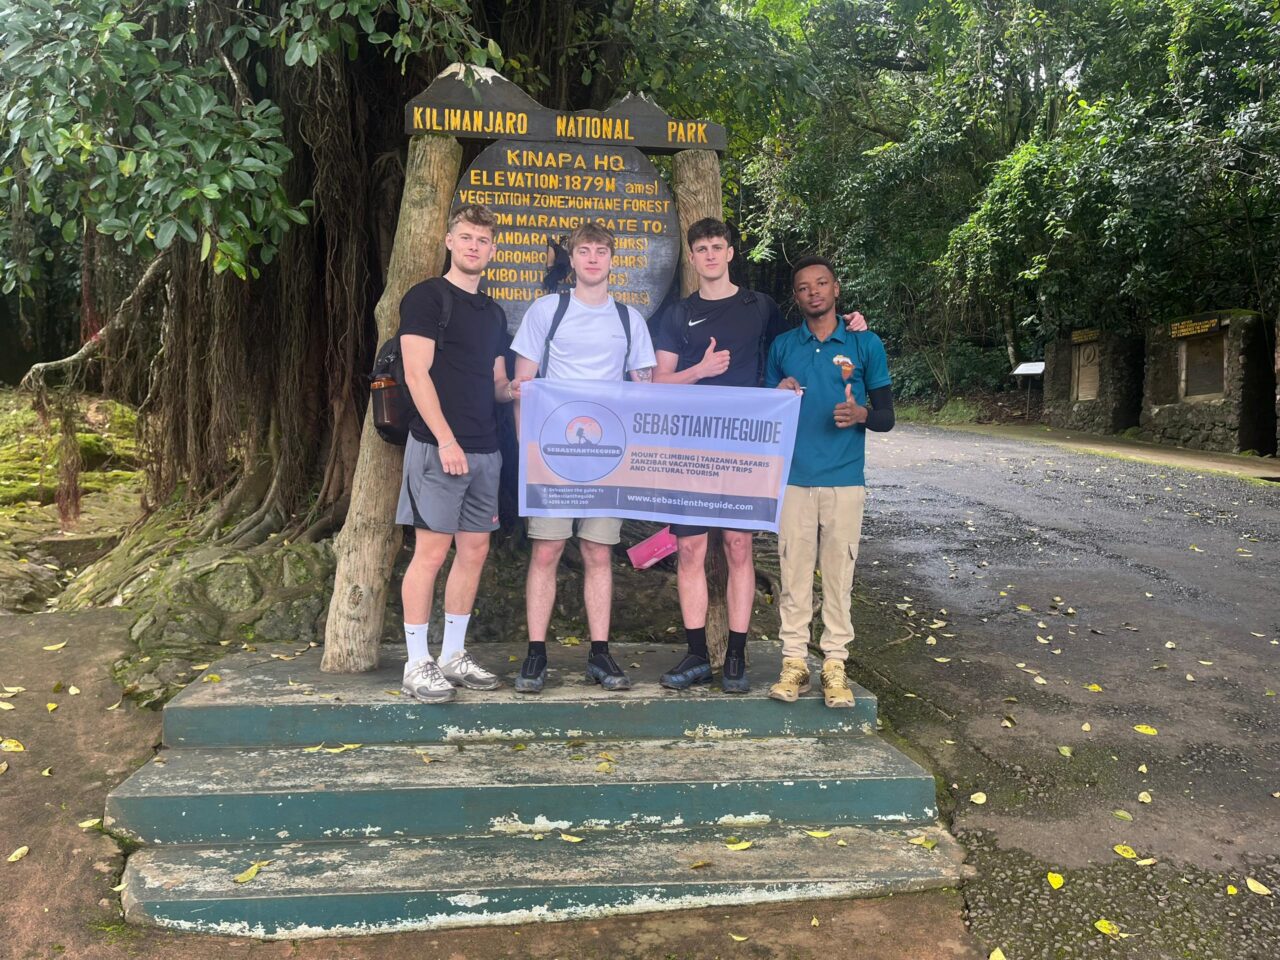
Understanding the Machame Route for Photographers
The Machame Route, often referred to as the “Whiskey Route” due to its challenging yet rewarding nature, is one of the most sought-after paths to the summit of Mount Kilimanjaro. For photographers, it presents a dynamic canvas, transitioning from lush rainforests teeming with colobus monkeys and diverse birdlife to alpine deserts and finally, the arctic summit zone. When planning a Machame Gate tour from Arusha – Mountain Photography Trip for 2026-2027, understanding the route’s specific photographic potential is paramount.
The Machame Route typically spans 6 to 7 days, with 7 days being strongly recommended for better acclimatization and, crucially for photographers, more time to pause, observe, and capture the evolving scenery and light. This extended duration allows for deeper engagement with the environment, increasing the chances of capturing unique moments and stunning vistas without feeling rushed. The trek begins at the Machame Gate (1,800m / 5,905 ft) and winds its way up through the southern and western circuits of the mountain, eventually merging with the Shira Route before descending via the Mweka Route. This specific path offers varied perspectives, making it ideal for those seeking a comprehensive photographic record of their Kilimanjaro ascent.
Why Machame is a Photographer’s Choice
Several factors make the Machame Route particularly appealing for photographers:
- Scenic Variety: The route traverses five distinct ecological zones: cultivated land, rainforest, heath, alpine desert, and arctic summit. Each zone offers unique photographic subjects, from vibrant flora and fauna in the lower forests to dramatic rock formations and expansive views in the higher altitudes.
- Circumferential Path: Unlike some other routes that ascend and descend the same side, Machame follows a more circuitous path. This allows for different lighting conditions on various aspects of the mountain and surrounding landscapes throughout the day.
- Acclimatization Profile: The 7-day itinerary, in particular, follows a “climb high, sleep low” principle, which aids acclimatization. This means you’re more likely to feel well enough to focus on photography during the day and at scenic viewpoints.
- Spectacular Sunrises and Sunsets: The western and southern aspects of the mountain offer incredible opportunities for capturing the sunrise over the plains and the sunset casting long shadows across the caldera.
- Wildlife Encounters: The rainforest section, especially in the early days of the trek, can yield excellent opportunities for capturing images of monkeys (like the black-and-white colobus), various bird species, and other small mammals.
Preparing Your Photography Gear for Kilimanjaro (2026-2027)
A successful Machame Gate tour from Arusha – Mountain Photography Trip hinges on having the right equipment. Kilimanjaro’s environment is harsh, with extreme temperature fluctuations, dust, and potential for rain or snow. Your gear choices must reflect these conditions.
Camera Body and Lenses
For 2026-2027 expeditions, consider the following:
- Camera Body: A DSLR or mirrorless camera offers the most flexibility. Choose a model that is robust and has good weather sealing if possible. If you’re prioritizing weight, a lighter mirrorless camera might be preferable. Ensure it has good battery life or bring multiple spare batteries.
- Lenses: A versatile zoom lens is essential. A 24-70mm equivalent is a great all-rounder for landscapes and general shots. For wider vistas and astrophotography (if conditions permit at high camps), a 16-35mm equivalent is excellent. A 70-200mm equivalent can be useful for capturing distant details, wildlife, or compressing landscapes, but its weight and bulk need consideration. Prime lenses can offer superior image quality but limit flexibility.
- Tripod: A lightweight, sturdy tripod is crucial for low-light conditions (early mornings, evenings, starry nights) and for achieving sharp landscape shots. Ensure it’s stable enough to withstand wind at higher altitudes.
Essential Photography Accessories
Don’t overlook these vital items:
- Extra Batteries: Cold temperatures drain batteries rapidly. Bring at least 3-4 fully charged spare batteries.
- Memory Cards: Pack plenty of high-capacity memory cards. You’ll be taking a lot of photos, and running out of space is a photographer’s nightmare.
- Camera Bag/Backpack: A comfortable, weather-resistant backpack with good padding is necessary. Consider one with easy access to your camera so you can shoot quickly without removing the entire pack. A rain cover is a must.
- Cleaning Kit: Microfiber cloths, a lens brush, and a small blower are essential for keeping your gear dust-free and clean, especially in the dry, dusty conditions above the treeline.
- Filters: A polarizing filter can help reduce glare and enhance sky colors. Neutral density filters can be useful for long exposures during the day if you’re aiming for specific creative effects.
- Power Bank: To recharge batteries and other small electronics, a reliable power bank is invaluable.
Protecting Your Gear from the Elements
The mountain environment can be unforgiving:
- Waterproofing: Use waterproof camera bags and rain covers. Even in the dry season, unexpected rain showers can occur.
- Cold Weather Protection: Keep batteries and cameras as close to your body as possible when not in use. Camera hand warmers can be a lifesaver for your equipment and your fingers.
- Dust Protection: A sealed camera bag and careful lens changes are important. Avoid changing lenses in windy conditions.
Best Times for Photography on Kilimanjaro’s Machame Route (2026-2027)
Timing is everything in photography. For a Machame Gate tour from Arusha – Mountain Photography Trip, the season significantly impacts light, weather, and visibility.
Dry Seasons: The Prime Times
The two main dry seasons offer the best conditions for photography:
- January to March: This period often features clear skies, good visibility, and cooler temperatures. The summit is usually snow-capped, offering classic iconic views. Sunrise and sunset light can be spectacular.
- June to October: This is another excellent dry season, characterized by pleasant temperatures and clear skies. It’s a popular time for trekking, so expect more fellow climbers. The landscapes are often lush from the preceding rains.
Wet Seasons: Challenges and Opportunities
While less ideal, the wet seasons can still yield unique photographic opportunities:
- April to May: This is the major rainy season. Expect frequent downpours, especially in the lower rainforest zone. Clouds can obscure views, but dramatic storm light and misty rainforest scenes can be very atmospheric.
- November to December: This is a shorter, less intense rainy season. You might encounter rain showers, but they are often interspersed with sunny periods. The landscape is green, and there’s a chance of snow on the summit.
For 2026-2027 planning, booking during the dry seasons (January-March or June-October) is highly recommended for optimal photographic conditions.
Daily Light Considerations
Beyond the seasons, consider the daily light cycle:
- Golden Hours: The hour after sunrise and the hour before sunset provide soft, warm light that is ideal for landscape photography.
- Midday: Harsh midday sun can create strong contrasts and washed-out colors. Use this time for rest, reviewing shots, or focusing on detail shots where harsh light might be less of an issue.
- Blue Hour: The periods just before sunrise and after sunset offer a cool, soft light perfect for capturing the mood of the mountain camps or the sky.
Itinerary Highlights for a Machame Photography Trek
A typical 7-day Machame Route itinerary offers distinct photographic opportunities each day. Planning your Machame Gate tour from Arusha – Mountain Photography Trip with an extended schedule maximizes these moments.
Day 1: Machame Gate (1,800m) to Machame Camp (3,050m)
- Environment: Rainforest.
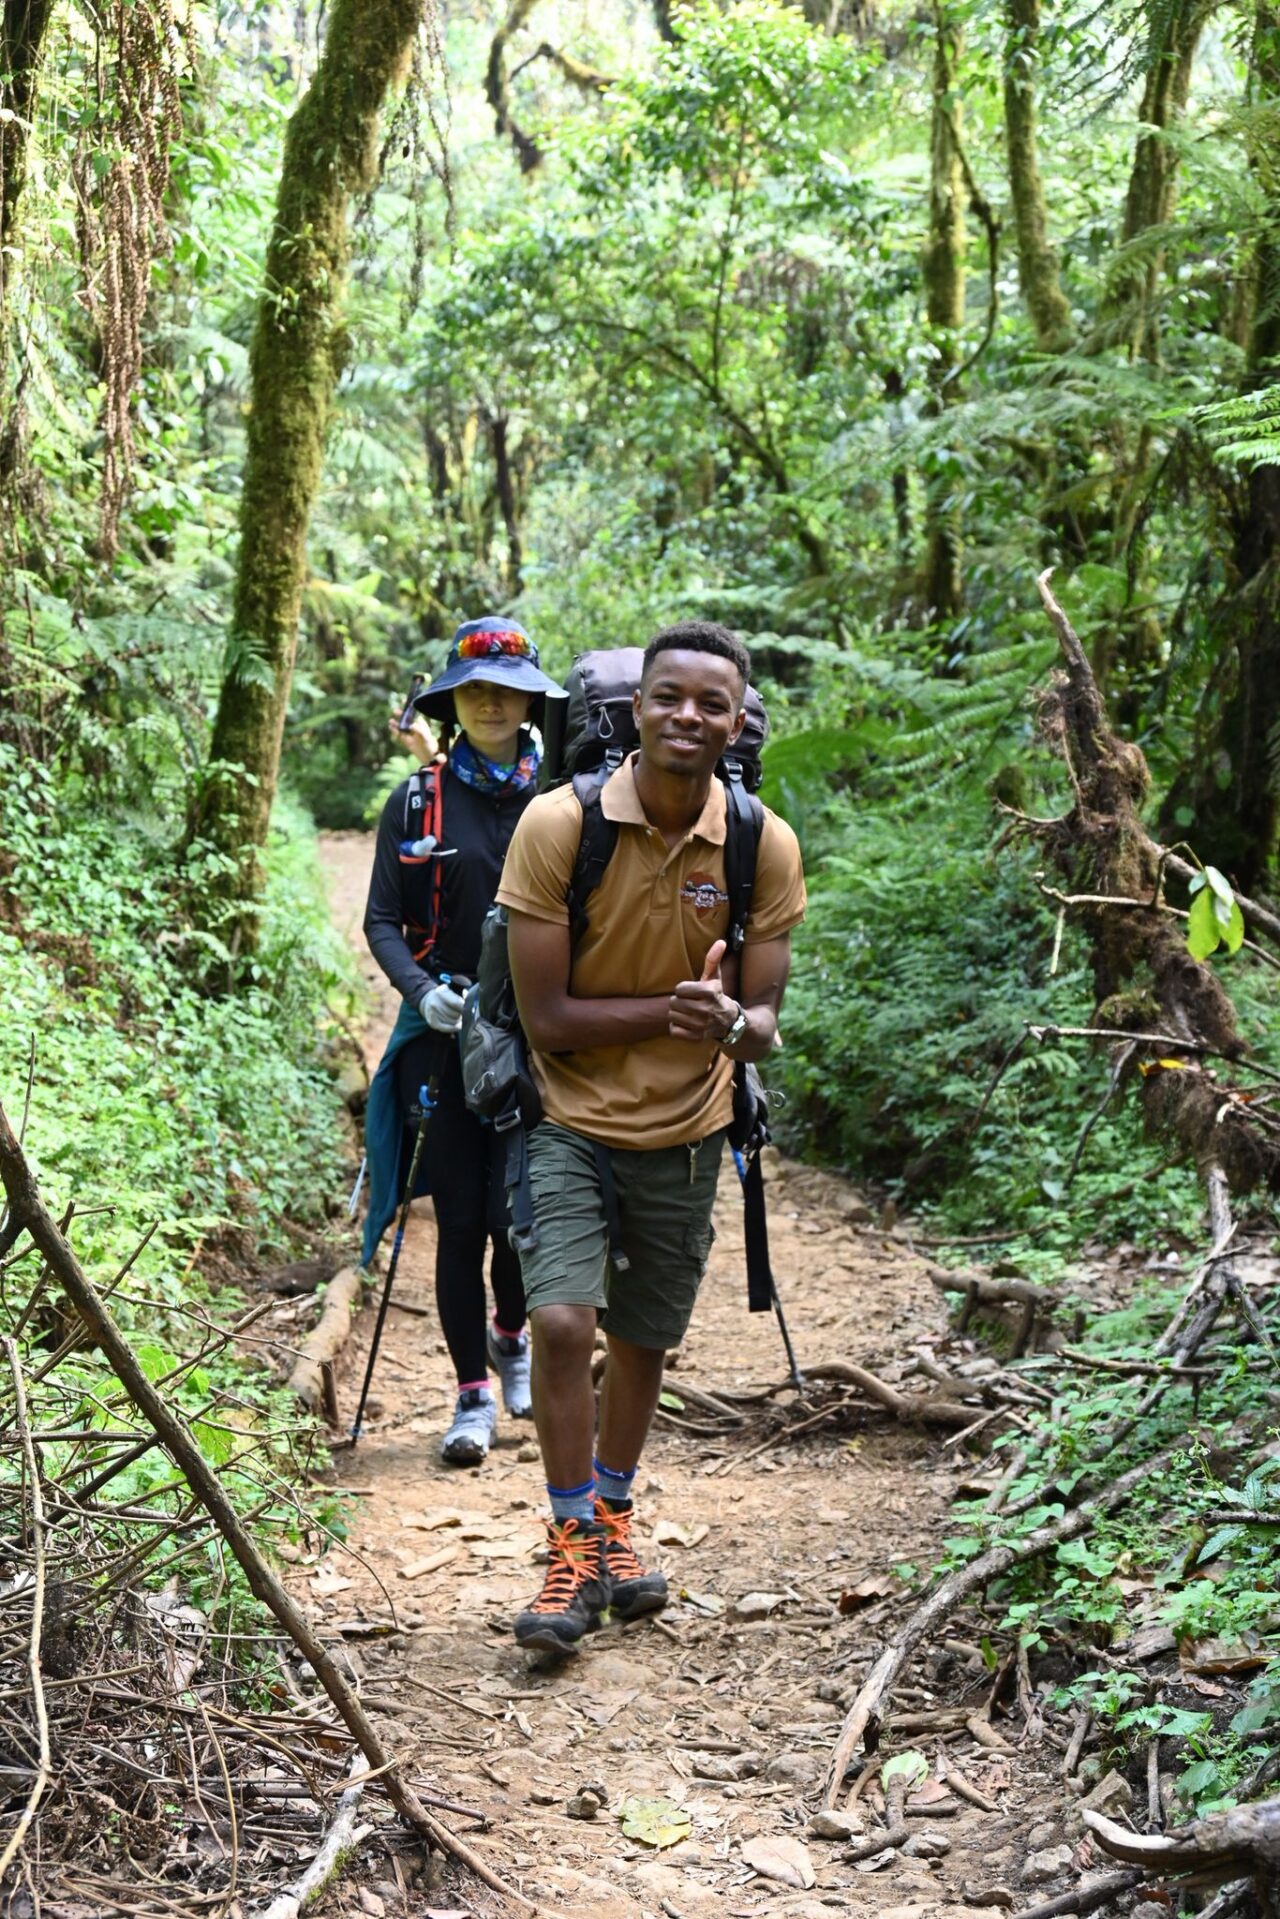
- Photography Focus: Lush vegetation, towering trees, mosses, ferns, potential for colobus monkeys and birdlife. The dappled light filtering through the canopy creates dramatic effects.
- Tips: Use a wider lens to capture the scale of the forest. Look for macro opportunities on the unique plant life.
Day 2: Machame Camp to Shira Camp (3,850m)
- Environment: Rainforest transitions to Heath and Moorland.
- Photography Focus: Wider vistas begin to open up. You’ll see the changing vegetation and possibly dramatic cloud formations over the Shira Plateau. The camp itself is often set against a stunning backdrop.
- Tips: Capture the transition in scenery. The open plateau offers great opportunities for panoramic shots.
Day 3: Shira Camp to Barranco Camp (3,950m) via Lava Tower (4,600m)
- Environment: Heath and Moorland, transitioning to Alpine Desert.
- Photography Focus: The iconic Lava Tower is a key subject. The landscape becomes more rugged and arid, with dramatic rock formations and expansive views of Kibo massif. This day involves significant altitude gain and descent, so acclimatization is key.
- Tips: Shoot Lava Tower from different angles. The stark beauty of the alpine desert is excellent for dramatic black and white photography.
Day 4: Barranco Camp to Karanga Camp (4,000m)
- Environment: Alpine Desert.
- Photography Focus: The Barranco Wall climb is a visual spectacle. The views from the top of the wall are impressive, looking back towards Shira Plateau and down into the Barranco Valley.
- Tips: Capture the human element against the dramatic landscape during the Barranco Wall ascent. Focus on the textures and colors of the alpine desert.
Day 5: Karanga Camp to Barafu Camp (4,650m)
- Environment: Alpine Desert.
- Photography Focus: Increasingly barren and rocky terrain. Views of Uhuru Peak and the glaciers become more prominent. The approach to Barafu Camp offers stark, dramatic scenery.
- Tips: Photograph the changing light on the glaciers. This is a good day to focus on the imposing presence of Kibo.
Day 6: Barafu Camp to Summit (Uhuru Peak, 5,895m) and Descent to Mweka Camp (3,100m)
- Environment: Arctic Summit Zone, then descent through Alpine Desert and Heath/Moorland.
- Photography Focus: The pre-dawn summit push offers incredible opportunities for sunrise shots over the clouds. Uhuru Peak, the glaciers, and the crater rim are prime subjects. The descent provides a different perspective on the landscape.
- Tips: Prioritize summit photos during the ascent. Be mindful of battery life and the cold. During descent, capture the vastness of the mountain and the changing vegetation.
Day 7: Mweka Camp to Mweka Gate (1,650m)
- Environment: Heath/Moorland, transitioning back to Rainforest.
- Photography Focus: The final descent through the rainforest offers a last chance to capture its dense beauty. Celebrate the achievement with your team.
- Tips: Focus on capturing the sense of accomplishment and the details of the forest you might have missed on the way up.
Logistics from Arusha for Your Photography Trip
Your Machame Gate tour from Arusha – Mountain Photography Trip begins long before you reach the mountain. Arusha serves as the primary gateway city for Kilimanjaro expeditions.
Pre-Trek Preparations in Arusha
Before heading to Machame Gate, you’ll typically spend at least one night in Arusha. This is crucial for:
- Gear Check: Finalizing your packing and ensuring all photography equipment is functioning correctly. Many operators offer gear rental, so this is your last chance to confirm suitability.
- Briefing: Attending a pre-trek briefing with your tour operator. This is where you’ll meet your guide, discuss the itinerary, and receive essential safety information. For photography trips, discuss your specific needs and expectations with your guide.
- Rest: Getting a good night’s sleep before the adventure begins.
Transportation to Machame Gate
Top Guide Adventures, like most reputable operators, will arrange private transportation from your Arusha hotel to the Machame Park Gate. This journey takes approximately 1.5 to 2 hours, depending on traffic and road conditions. The drive itself offers glimpses of rural Tanzanian life and the changing landscape as you approach the mountain’s foothills.
Choosing Your Tour Operator for 2026-2027
Selecting the right operator is critical for a successful photography trip. Consider:
- Experience with Photographers: Some operators are more accustomed to the needs of photography groups, understanding the desire for extra stops and flexibility.
- Guide Knowledge: Guides who are knowledgeable about the mountain’s ecology and photography can enhance your experience by pointing out photographic opportunities.
- Safety Standards: Prioritize operators with strong safety records and well-trained guides.
- Group Size: Smaller groups often allow for more flexibility, which is beneficial for photography.
For your Machame Gate tour from Arusha – Mountain Photography Trip in 2026-2027, consider contacting Top Guide Adventures. They can be reached via WhatsApp at +255616946642 or email at topguideadventures@gmail.com and info@topguideadventures.com to discuss customized photography itineraries.
Photography Tips for Kilimanjaro’s Unique Environments
Each ecological zone on Kilimanjaro presents unique photographic challenges and rewards. Adapting your technique is key.
Rainforest Photography
The dense, humid rainforest requires specific approaches:
- Lens Choice: A standard zoom (24-70mm) is versatile. A macro lens can be useful for the intricate details of fungi, flowers, and insects.
- Light: Dappled light can be challenging. Use a wider aperture or a faster ISO setting. Look for opportunities where light breaks through the canopy.
- Moisture: Protect your gear. Use a rain cover and be mindful of condensation when moving between humid outdoors and cooler interiors.
- Wildlife: Patience is key. Colobus monkeys and birds are often high in the trees. Use a telephoto lens if you have one, or a standard zoom and be prepared to crop.
Heath and Moorland Photography
As you ascend, the landscape opens up:
- Wide-Angle Lenses: Essential for capturing the vastness of the moorland, rolling hills, and distant views.
- Weather: Clouds can add drama. Look for dramatic skies and use them to frame the landscape.
- Details: Don’t forget the unique flora like giant heathers and groundsels.
Alpine Desert Photography
This is where the mountain’s stark beauty shines:
- Rock Formations and Textures: Focus on the dramatic geological features. Use a polarizing filter to enhance textures and contrast.
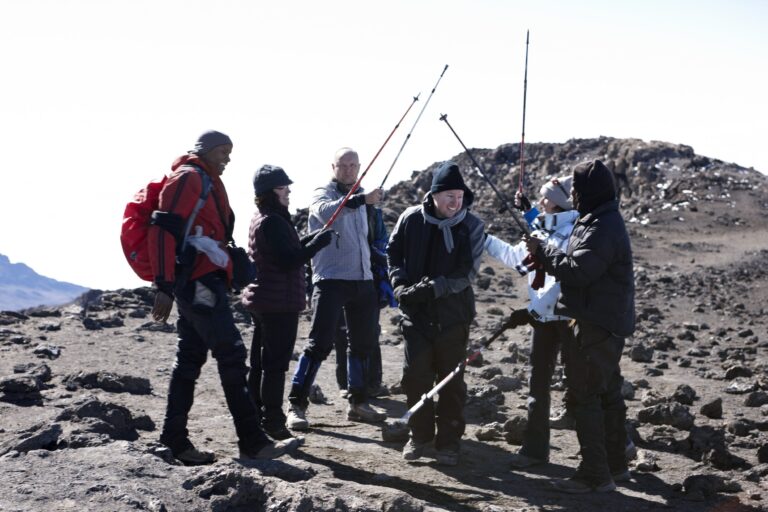
- Scale: Use your fellow trekkers or the vastness of the landscape to convey scale.
- Light: The quality of light changes dramatically with altitude and weather. Experiment with different times of day.
Summit Zone Photography
The final push and summit are the ultimate goal:
- Sunrise: Capture the first light hitting the peak and the clouds below. This is often done in challenging, low-light, and extremely cold conditions.
- Glaciers: The remaining glaciers are iconic. Photograph their textures, colors, and scale.
- Crater Rim and Uhuru Peak: These are must-have shots. Ensure your camera is ready and batteries are warm.
- Cold Weather Photography: Keep batteries in an inside pocket. Use hand warmers. Minimize time spent with the lens cap off.
Altitude Sickness and Photography
Altitude sickness (Acute Mountain Sickness – AMS) can significantly impact your ability to enjoy and execute your Machame Gate tour from Arusha – Mountain Photography Trip. While photography requires focus and energy, your health and safety come first.
Understanding AMS Symptoms
Common symptoms include:
- Headache
- Nausea and vomiting
- Dizziness
- Fatigue
- Loss of appetite
- Difficulty sleeping
Photography and Acclimatization
AMS can impair your judgment and physical ability, affecting your photography:
- Pacing: The Machame Route, especially the 7-day option, is designed for acclimatization. Listen to your guides and ascend slowly. This gives you more energy and mental clarity for photography.
- Hydration: Drink plenty of water. Dehydration exacerbates AMS symptoms.
- Rest: Take breaks when needed. Don’t push yourself too hard, especially during acclimatization days.
- Listen to Your Body: If you feel unwell, inform your guide immediately. Descending is the most effective treatment for severe AMS. Your photography can wait; your health cannot.
Tips for Photographers Dealing with Altitude
- Pre-Trek Fitness: Being physically fit before you arrive helps your body cope better with the demands of altitude.
- Medication: Discuss Diamox (acetazolamide) with your doctor as a preventative measure.
- Focus on Shorter Shoots: If feeling unwell, focus on quick, impactful shots rather than extended photography sessions.
- Utilize Downtime: Use rest periods at camps to review photos, plan shots for the next day, or simply rest.
Cost Considerations for a 2026-2027 Kilimanjaro Photography Trek
The cost of a Machame Gate tour from Arusha – Mountain Photography Trip can vary significantly based on several factors. While exact prices for 2026-2027 are subject to change, understanding the cost components is crucial for budgeting.
Key Cost Factors
- Duration: Longer treks (like the 7-day Machame) are more expensive due to additional days of park fees, crew wages, and supplies.
- Operator Type: Local operators often offer more competitive pricing than international ones. Quality and safety should always be prioritized over the lowest price.
- Group Size: Private treks are more expensive per person than group treks. Shared group departures are the most budget-friendly option.
- Inclusions: Check what’s included. Essential inclusions typically cover park fees, camping/hut fees, rescue fees, experienced guides, assistant guides, porters, cook, all meals on the mountain, bottled water, transport to/from the gate, and a pre-trek briefing.
- Exclusions: Common exclusions are tips for the crew, personal gear rental, travel insurance, visas, flights, and items of a personal nature. For photography trips, specialized gear transport or support might be an extra cost.
Typical Price Ranges (Estimate for 2026-2027)
For a 7-day Machame Route trek, you can expect:
- Budget/Mid-Range Operators: Typically range from $1,500 to $2,200 USD per person. These often focus on essential services and group departures.
- Mid-Range/Premium Operators: Can range from $2,200 to $3,500 USD per person. These operators usually offer better quality equipment, higher crew-to-client ratios, more experienced guides, and enhanced meal options.
- Luxury Operators: May exceed $3,500 USD per person, offering superior comfort, finer dining, and potentially more personalized services.
Note: These are estimates. For precise 2026-2027 pricing tailored to your photography needs, it’s best to get a personalized quote. Top Guide Adventures can provide detailed quotes for your Machame Gate tour from Arusha – Mountain Photography Trip. Contact them via WhatsApp +255616946642 or email topguideadventures@gmail.com.
Additional Photography-Related Costs
While not always standard, consider these potential extra costs for a photography-focused trip:
- Extra Porter for Gear: If you have a lot of heavy camera equipment, you might consider hiring an extra porter specifically for your gear. This would incur additional porterage fees.
- Longer Itinerary: Opting for an 8-day trek for better acclimatization and more photography time will increase costs.
- Specialized Guide: While standard guides are excellent, some operators might offer specialized photography guides for an additional fee.
Packing List for Your 2026-2027 Machame Photography Expedition
Beyond your photography gear, a comprehensive packing list is essential for comfort and safety on the mountain.
Clothing Layers
- Base Layers: Moisture-wicking thermal tops and bottoms (merino wool or synthetic).
- Mid Layers: Fleece jacket or insulated jacket for warmth.
- Outer Layer: Waterproof and windproof jacket and trousers (Gore-Tex or similar).
- Insulation: A warm down or synthetic insulated jacket for evenings and summit night.
- Trekking Trousers: Lightweight, quick-drying trousers. Avoid jeans.
- Headwear: Warm beanie hat, sun hat with a wide brim.
- Gloves: Thin liner gloves and warm, waterproof outer gloves or mittens.
Footwear
- Trekking Boots: Waterproof, broken-in hiking boots with good ankle support.
- Camp Shoes: Comfortable shoes or sandals for wearing at camp.
- Socks: Several pairs of warm, moisture-wicking hiking socks (wool or synthetic).
Sleeping Gear
- Sleeping Bag: A 4-season (-10°C to -20°C comfort rating) down or synthetic sleeping bag is recommended.
- Sleeping Bag Liner: Adds warmth and keeps your sleeping bag clean.
- Sleeping Pad: Most operators provide these, but check if you prefer your own.
Other Essentials
- Backpack: A 40-60 liter backpack for your personal gear.
- Daypack: A smaller pack for essentials during the day’s hike (water, snacks, camera, rain gear).
- Headlamp: With extra batteries. Essential for navigating in the dark, especially on summit night.
- Water Bottles/Hydration Reservoir: At least 2-3 liters capacity.
- Sunscreen: High SPF.
- Lip Balm: With SPF.
- Sunglasses: UV protection.
- Toiletries: Biodegradable soap, toothbrush, toothpaste, wet wipes.
- Personal First-Aid Kit: Including any personal medications.
- Trekking Poles: Highly recommended for stability and reducing strain on knees.
- Snacks: High-energy snacks (nuts, energy bars, dried fruit).
- Camera Gear: As detailed previously.
Photography Gear Note:
When packing your photography gear, consider hiring an extra porter if your equipment is particularly heavy or bulky. This can significantly improve your comfort and ability to enjoy the trek. Discuss this option with your tour operator when booking your Machame Gate tour from Arusha – Mountain Photography Trip for 2026-2027.
Maximizing Your Mountain Photography Experience
Beyond gear and timing, adopting certain practices will elevate your photography trip.
Pre-Trip Preparation
- Scout Locations (Virtually): Look at photos taken by others on the Machame Route to identify key viewpoints and subjects.
- Practice Photography: Familiarize yourself with your camera settings, especially in low light and challenging conditions.
- Learn about Kilimanjaro: Understanding the mountain’s geology, flora, and fauna can inspire more thoughtful photography.
On the Trek
- Communicate with Your Guide: Let your guide know you’re a photographer. They can help identify opportunities and adjust pace when needed.
- Shoot at Different Times of Day: Don’t just focus on the golden hours. Capture the stark midday light, the moody pre-dawn atmosphere, and the vibrant colors of sunset.
- Look for Details: Beyond grand landscapes, seek out the intricate patterns of lichen, the texture of volcanic rock, or the expressions of your fellow trekkers.
- Embrace the Elements: Mist, rain, and clouds can add incredible atmosphere to your photos. Don’t let less-than-perfect weather deter you.
- Storytelling: Think about telling a story with your images – the journey, the effort, the camaraderie, and the stunning environment.
- Review and Backup: At camp, take time to review your shots. If possible, back up your photos to an external drive or cloud service (though reliable internet is rare on the mountain).
Why Choose a 7-Day Machame Route for Photography in 2026-2027?
While shorter Machame treks exist, the 7-day itinerary is the optimal choice for a dedicated Machame Gate tour from Arusha – Mountain Photography Trip.
- Better Acclimatization: The extra day significantly improves your chances of reaching the summit comfortably and feeling well enough to focus on photography.
- More Time for Photos: It allows for leisurely stops at scenic points, waiting for the best light, and capturing the changing landscapes without feeling rushed.
- Reduced Risk of AMS: The slower pace inherent in a 7-day trek is crucial for managing altitude sickness, which is detrimental to any photographic endeavor.
- Deeper Immersion: More time on the mountain means a richer experience, allowing for a more profound connection with the environment and more opportunities for spontaneous photographic moments.
Planning your Machame Gate tour from Arusha – Mountain Photography Trip for 2026-2027 with a 7-day itinerary ensures you have the best possible conditions to capture the essence of Kilimanjaro.
Booking Your Photography Trek with Top Guide Adventures
When planning your unforgettable Machame Gate tour from Arusha – Mountain Photography Trip for 2026-2027, partnering with an experienced and reputable tour operator is essential. Top Guide Adventures specializes in creating memorable Kilimanjaro experiences, understanding the unique needs of photographers.
We offer customized itineraries, ensuring you have the time and flexibility needed to capture stunning images. Our experienced guides are trained to assist photographers, identifying optimal shooting times and locations. We prioritize safety, quality equipment, and excellent service to make your journey a success.
To discuss your photography trek, get a personalized quote, or learn more about our 2026-2027 departures, please reach out:
- WhatsApp: +255616946642
- Email: topguideadventures@gmail.com
- Backup Email: info@topguideadventures.com
Let us help you capture the magic of Kilimanjaro through your lens. Explore our Kilimanjaro trekking options at www.topguideadventures.com and join our group departures for the Machame Route at Machame Route Group Departures.
Check Availability for Machame Gate Tour From Arusha: Your Ultimate Mountain Photography Trip Guide
Ready to compare dates, prices, and the best option for your group? Send the package name and travel month so the team can reply with a clear quote, availability, and what is included.
Kilimanjaro Airport Vs Arusha For Climbers: The Definitive Guide 2026-2027
A comprehensive comparison of Kilimanjaro International Airport (JRO) and Arusha Airport (ARK) for trekkers planning a Mount Kilimanjaro climb, detailing pros, cons, and booking advice for...
View package details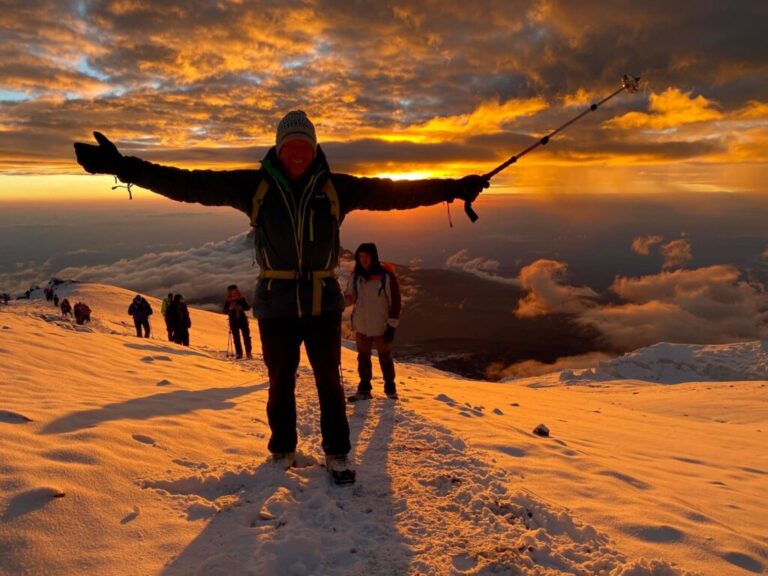
Kilimanjaro Climb With Professional Photography Support In | Top Guide
Elevate your Kilimanjaro ascent by including professional photography services. Top Guide Adventures ensures your most challenging and rewarding moments on Africa's highest peak are...
View package details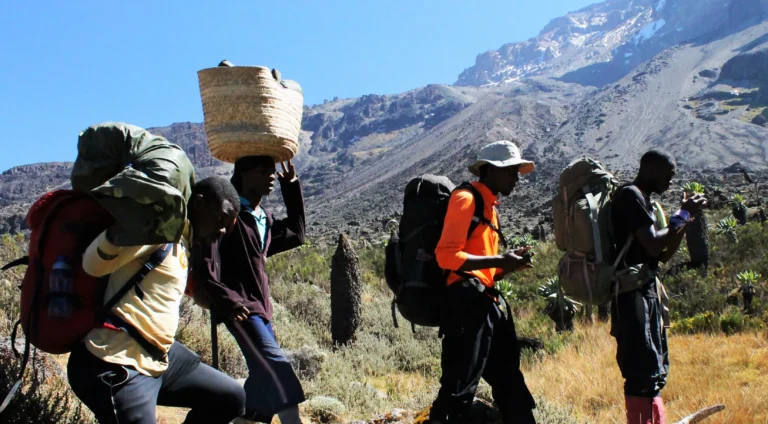
Kilimanjaro Photography Mistakes At High Altitude 2026-2027
Kilimanjaro Photography Mistakes at High Altitude is explained with current 2026-2027 planning, price, itinerary and booking information.
View package details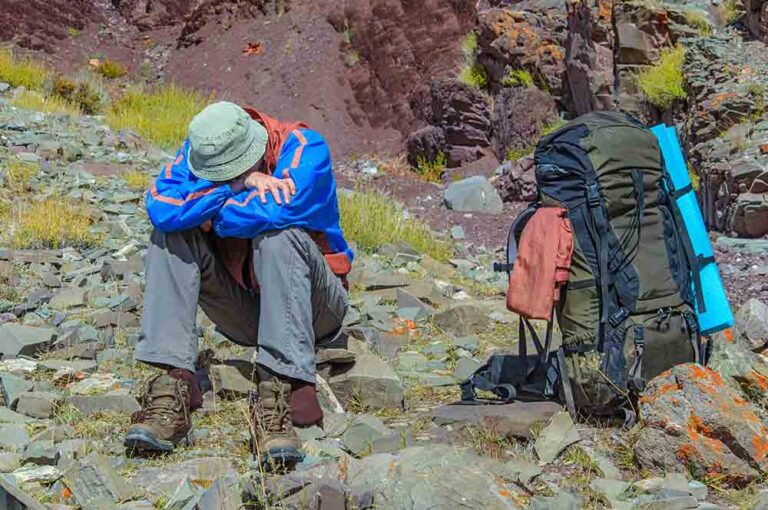
Kilimanjaro Airport Transfer For Large Groups: Smooth Travel With Top Guide
Top Guide Adventures specializes in Kilimanjaro Airport transfers for large groups, ensuring a smooth and comfortable journey from Kilimanjaro International Airport (JRO) to your...
View package details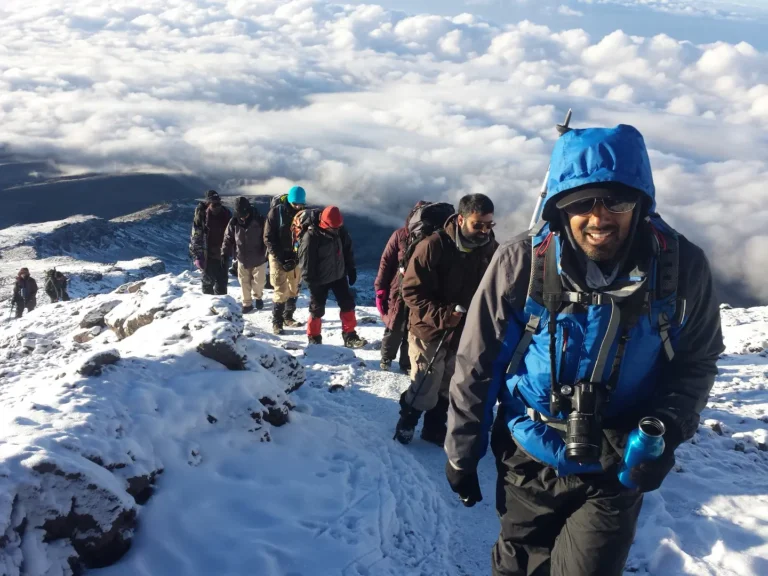
Run The Kilimanjaro Marathon And Climb Mountain 2026-2027
Run the Kilimanjaro Marathon and Climb the Mountain is explained with current 2026-2027 planning, price, itinerary and booking information.
View package details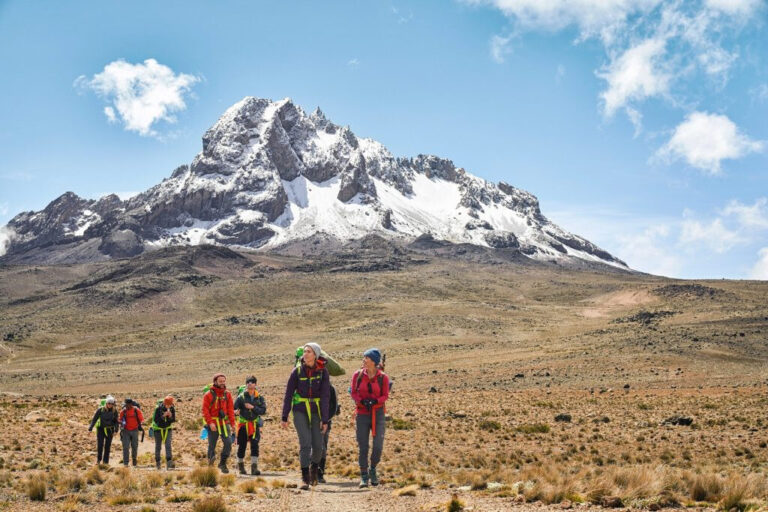
What A Kilimanjaro Mountain Crew Should Provide For Your Climb 2026-2027
Planning a Kilimanjaro climb? Understand precisely what your mountain crew needs to provide, from essential gear and experienced guides to food, safety, and logistical support. This...
View package details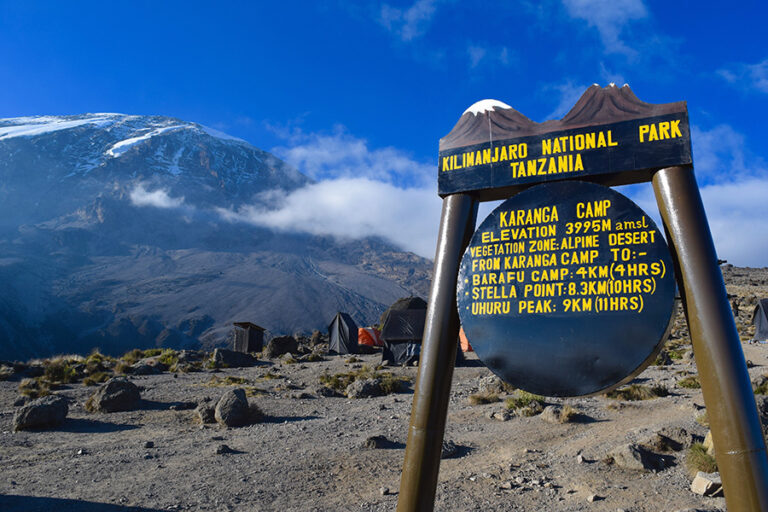
Kilimanjaro Packed Lunch Vs Hot Mountain 2026-2027
Kilimanjaro Packed Lunch vs Hot Mountain Lunch is explained with current 2026-2027 planning, price, itinerary and booking information.
View package details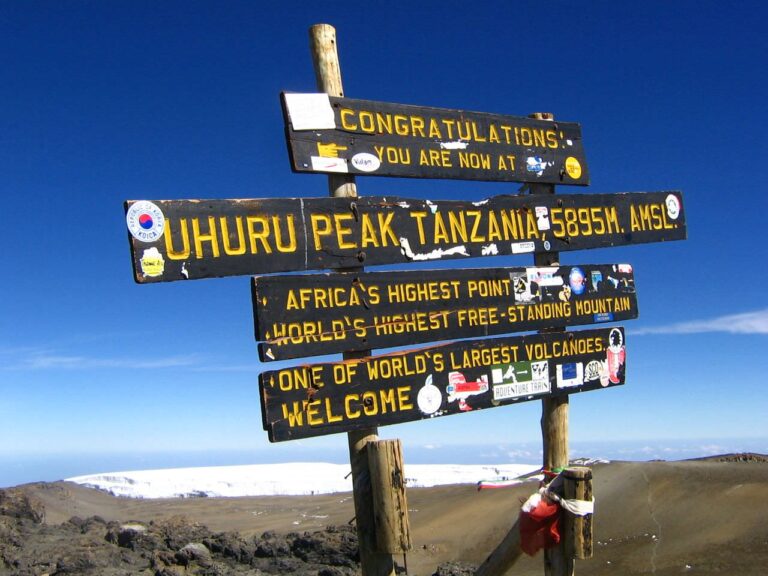
What Does Kilimanjaro Rainforest Look Like? A Trekkers Visual Guide 2026-2027
The Kilimanjaro rainforest is a vibrant, humid zone of dense vegetation, towering trees, and diverse plant life found on the mountain's lower slopes. It's the first major ecosystem trekkers...
View package details
Kilimanjaro Climb With A Personal Support Assistant: Your Ultimate Guide
Climbing Mount Kilimanjaro with a personal support assistant offers unparalleled safety, comfort, and focus on your summit goals. This guide details what a personal assistant entails, its...
View package detailsHow To Know Whether You Are Ready For Kilimanjaro: A Comprehensive Guide
Climbing Mount Kilimanjaro is a significant undertaking. This guide helps you evaluate your physical, mental, and logistical readiness to ensure a safe and successful trek in 2026 or 2027...
View package details
Kilimanjaro Hydration Mistakes Climbers Make And How To Avoid Them 2026-2027
Proper hydration is critical for a successful Kilimanjaro climb. This guide details common hydration mistakes climbers make, from under-drinking to choosing the wrong fluids, and provides...
View package details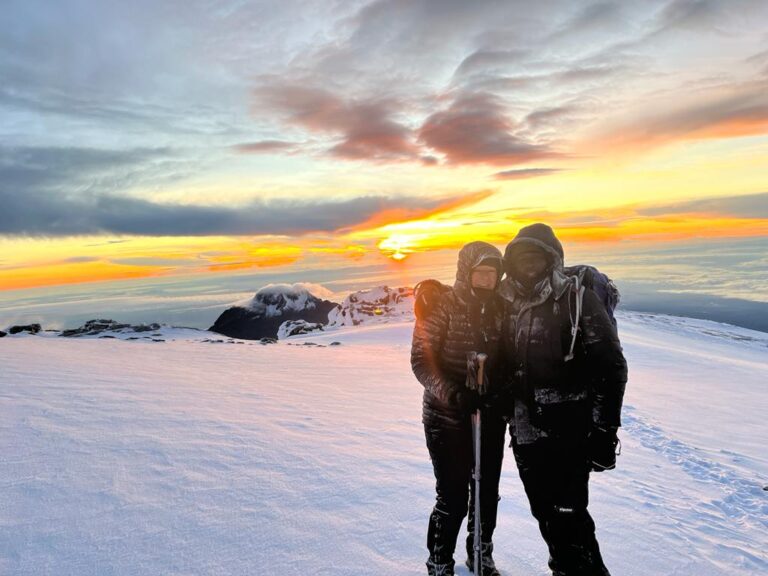
Kilimanjaro Altitude-Sickness Mistakes 2026-2027
Kilimanjaro Altitude-Sickness Mistakes is explained with current 2026-2027 planning, price, itinerary and booking information.
View package detailsNo related package matches those filters. Clear one or more filters to see the other topic-matched options.